Jan 6, 2021
Color correction is a must-have skill for any serious filmmaker.
It’s one of those underappreciated things that can sell the audience on something, whether that’s accentuating the environment in a scene or simply adding a perfect level of realism to a fantastical shot.
But not everyone is a coloring expert. Even some professional, full-time creators struggle to get full value out of their editing processes.
Understanding video color correction for YouTubers will make coloring a little less intimidating. That way, you can use this skill to boost your production value and actually improve the visual style you work so hard to create.
Color Correction or Color Grading?
You can break coloring down into two halves: color correction and color grading. Both of these are fairly technical processes, both happen during post-production, and both are done in the same software.
So yeah, it’s easy to confuse these two, especially if you aren’t intimately familiar with what sort of work goes into each piece.
Color correction is about realism. At this point in the editing process, you’re trying to adjust — or “correct” — the color and exposure of the footage.
The end goal is to make the visual quality match both your vision for the project and also mirror what the human eye would see in real life. That also means editing all of your shots to establish a visual consistency across the entire production (which is especially important if you collaborate with other creators or shoot at multiple locations/times).
Color grading is all about style. You’ll take your corrected footage and start to experiment, either using LUTs or hand-adjusting the vibrancy and contrast of your video. This is where the Bourne movies got so dark, Mad Max got so washed out, and Munich got so retro.
If you’re curious about what that could look like, this video breaks down different examples of how blockbuster films use color grading to control the visual mood and atmosphere:
I also wrote an article that explains color grading, which will provide more information and tools if you want to learn about that topic too.
Easy Steps to Simply Your Coloring Process
Remember how I said that coloring is a pretty technical process? That means it also requires a little bit of know-how and a whole lot of patience, depending on how good you want to be. (But since editing is so important, your answer lean towards “I want to get as good as I can.”)
Thankfully, you can tackle some of that before you even hit “Record.”
To simplify the coloring process, you’ll first want to familiarize yourself with the different picture or shooting profiles on your camera. That will give you a baseline knowledge for the typical look of your footage, which in turn can help you know what and when you’ll need to correct something.
This particular “planning” step also helps you compensate/manage your white balance and color temperatures. These are the elements that really create a sort of visual mood, so you’ll want to stay in control of them.
And by knowing what you want the image to look like before you start shooting, you can incorporate that into shooting and (hopefully) reduce the amount of color correction you’ll have to do later. It all comes down to that overused saying about working “smarter, not harder.”
Make this a habit, or at least a regular part of your pre-production planning. Knowing your color and saturation levels will help you create visual consistency, even once you start to invest in new and better cameras. That makes it a skill you can always carry with you.
Video Color Correction for YouTubers
Now, video color correction for YouTubers can take a slightly different route. It’s still a routine process, so some things won’t change. You’ll still tackle this during post-production as part of your regular editing activities.
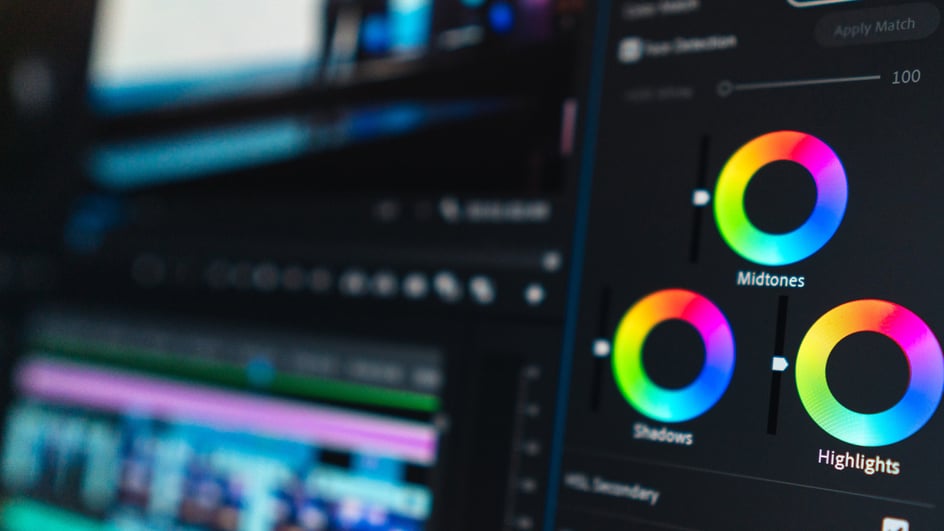
You’ll still want to think about how you want the final video to look, and hopefully make the proper adjustments to choose picture profiles and white balances that get you closer to that goal. And of course you’ll still use Premiere Pro or whichever editing software you prefer.
YouTube content is highly stylized, even without the professional level of coloring you’d expect in a bigger production. That means you don’t have to try and mirror any sort of visual “standard” or rely on the vision of a director of photography.
You are in control of the project. And that means if your audience associates your channel with a certain look, you can lean into that style. Color correction is just a way for you to boost the production value of your videos — you can always use color grading to go back to the look you want, but still achieve the highest visual quality you can manage.
Self-improvement plays a pretty major role in the content creation grind, especially on YouTube where production value can make or break a channel. And color correction is a smooth, common, and pretty straightforward way to raise the level of your visual storytelling.
Of course, you can find thousands of tutorials that show you how a certain creator handles coloring in their workflow. That’s all well and good. Most of these videos can be helpful, especially if you’re a visual learner or aspire to make content like that specific channel does.
But there’s no “right way” to approach color correction. Or at least, there isn’t one universal law that all creators have to follow. I mean, your camera settings or editing software might limit how much you can adjust, or they might have built-in processes to simplify things for you.
And you might even want an unusual contrast or white balance, either as a personal style or to maintain consistency with the look of existing video on your channel.
Color correction is more than just a by-the-numbers solution for bad visuals. And even if your viewers don’t understand or recognize the change, it’s something they will unconsciously notice and appreciate.
