How Do You Actually Edit with LUTs, Film Textures and Overlays?
Jourdan Aldredge

Nov 21, 2022
The first stage of learning how to edit film and video is really all about editing theory. You know — what are the different shot types and various types of cuts? And why do certain shots work together (and perhaps why some don’t).
However, once you’ve mastered the basics of video editing, the next stage of progress is all about working with colors, textures, and various overlays and flair to really develop specific styles and looks with your projects.
And while this may seem tricky to tackle right away, there are actually tons of great assets and resources available to you to help you along your way.
So, as you’re moving on to your next stage of video editing, let’s answer the question as to how you can actually edit with LUTs, textures, grains, and other various overlays by going through some helpful tutorials.
Alright, to get started we’re going to pull some resources from our friends at Tropic Colour. As you can see in the video tutorial above, the steps to applying a LUT isn’t anything to be afraid of – if anything it should empower your creative filmmaker heart!
If you aren’t familiar with the term, a LUT is a “Look-up Table” and is basically a way in which editors can quickly add a specific color grade to footage. These LUTs can either be created yourself or downloaded from resources like Tropic Colour to help you get your desired film looks.
Following the guidance in the video, here are the steps to applying a LUT to your project:
From there you can further customize your LUT by changing the intensity or some of the other variables like fade, sharpness, vibrance, and saturation. It’s worth noting that these steps are for Premiere Pro, but the process would be pretty much the same for Final Cut Pro or DaVinci Resolve.
Moving on, while LUTs are great tools for color correcting and grading of footage, there are many instances where you might want to give your footage an extra level of realness or grit.
Applying colored film textures and grains is a great way to instantly make your footage feel more raw and cinematic and — similar to LUTs — are quite easy to work with and add.
Here are the steps for applying film textures and grains to your project:
Because of how many of these different texture and grain files are rendered (in particular these assets created by Tropic Colour), adding them to your videos is as simple as dragging and dropping them into your timeline. You don’t need to link to any After Effects files or do any additional renders, it really should be plug-and-play.
Similarly, when working with light leaks and flares which might be better for transitions than overall color or aesthetics, the process is quite straightforward as well. Light leaks in particular are a great way to quickly make a flash with your cuts.
Here are the steps for applying light leaks and flairs to your project:
There are lots of different ways in which you can work with these overlays and assets as a means to add texture to your video. However be careful to not overdo the effect unless you really want your video to flash!
Similarly, you can also add elements like film burns to your project to give your footage that grainy, old-timey effect which is particularly helpful for certain titles and cards. (Trust us, J.J. Abrams and Michael Bay would agree.)
Here are the steps for applying film burns to your project:
Be sure to experiment with different blend modes as a way to increase or decrease the overall look and feel of the effect too.
Finally, one of the best ways to really give your project a niche film look which instantly harkens back to a specific time or genre style is to use film mattes. Working with these film mattes is just as easy as applying any other LUT, grain, or effect, yet can be one of hte most powerful options.
Here are the steps for applying film mattes to your project:
Overall these film mattes are a great way to turn your video footage from boring old recordings into some color correct high-quality products.
When searching out free LUTs or different free LUT pack downloads, be sure to keep in mind that any LUT or asset is only going to be as good as your color grading process overall. There's no true "quick fix" for your video editing project. And a color grade should be a standard part of your video editing process after color correction.
Also, regardless of your video editing software, color grading with custom LUTs or different creative LUTs should be adjusted for your color space and skin tones. Free LUT packs, cinematic LUTs, and conversion LUTs work best with log footage and at the final stages of your post production process.
All that being said, color grading is the most fun part of post production for a reason! So find your favorite vintage film look that you want to copy, experiment with color balance and color correction, and find your right LUTs for video project.
If you like these assets and overlays, you can browse plenty more over on the Tropic Colour website. And if you’d like to check out more filmmaking tips, tricks, and tutorials, be sure to stay subscribed to the Soundstripe blog and YouTube channel.
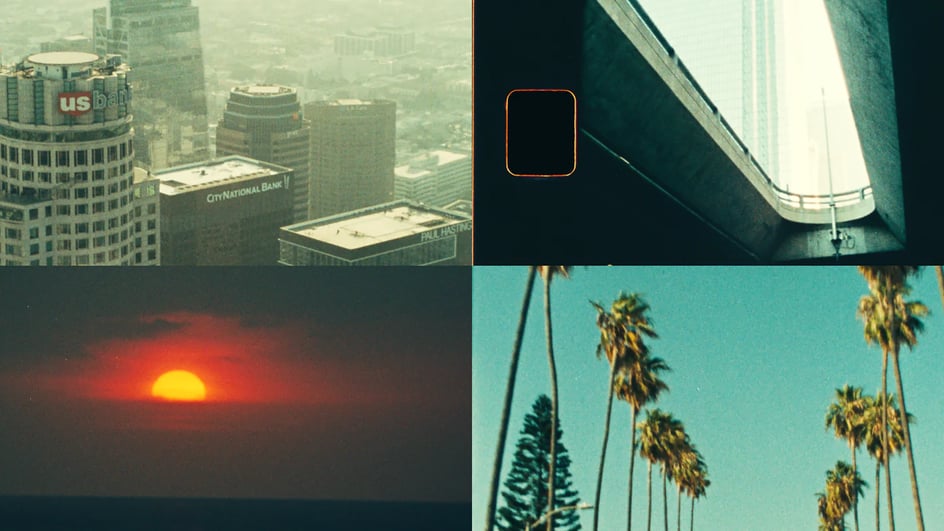
Cover image via Tropic Colour.