Dec 15, 2020
Whether you’re new to videography or a seasoned professional, no one is immune to the dreaded creative plateau.
While a methodical approach puts you on track to meet deadlines and stay within budget, relying on the same tactics and style can limit the creative potential of future projects. In order to hone your craft in new ways, you have to be intentional about challenging your creative style.
Creators often use stock video to bridge logistical gaps or as filler for missing shot video that was overlooked during planning. Whatever the scenario may be, stock video is a crucial element in the post-production process.
When you create a shot list prior to filming, you account for the types of shot video and stock video that you need. Though stock video blends with shot video during post-production, you don’t have to wait until this final stage to select the best stock footage for the project.
You can plan ahead and include stock video in your shot list.
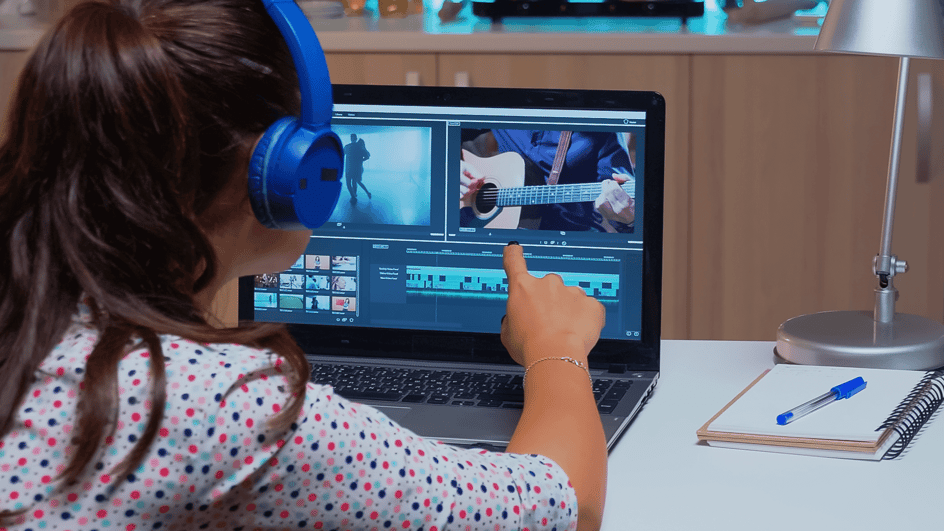
Once you cross into post-production territory, the focus shifts from capturing the right shots to bringing the project together. Creators working with shot video and stock video can blend the two together with some careful consideration and choice edits.
Let’s explore how you can combine stock video with your shot video to create a cohesive story.
Graded and Ungraded Stock Video
Searching for stock video yields different results based on desired content, frame rate, and resolution. Depending on the nature of your video or film project, you can narrow down the parameters of your search to find the right stock videos.
You may need an establishing shot with 4K resolution, but this establishing shot also needs to be set in a specific location –– let’s say the Brooklyn Bridge. The more well-known the location is, the more specialized your search for stock video will need to be.
There are many factors to consider when filtering through your stock options, but these all fall within two camps: graded or ungraded stock video.
Graded stock video is pre-graded, edited footage, whereas ungraded stock video is taken directly from RAW or LOG footage. Because the color grading hasn’t been locked in, creators have an advantage when trying to match ungraded stock video with shot footage.
However, the majority of stock footage available in stock video libraries is graded. This is because graded footage is often the most convenient option for creators who are working against deadlines. These shots appeal to creators because of the high quality and cinematic appearance.
Whether you opt for graded or ungraded stock footage, a few alterations can transform any clip into content that visually matches your shot video.
Matching Stock Video to Shot Video
1. Are the locations (believably) connected?
Before you can start editing stock video and shot video together, consider whether the settings look similar enough to pass as the same location. In cases where the stock footage is distinct and easy to place, it’s best to take the extra time to find a shot that is an authentic match.
If your short film is based in Philadelphia, for example, viewers will be immediately deterred if you include this shot of the Statue of Liberty with your shot footage:
When the locations don’t visually match, the hours you spend editing and blending the footage together are ineffective. Even the most knowledgeable video editors won’t be able to morph the actual location into something less conspicuous.
For this reason, most creators look for content that is ambiguous –– and therefore, more adaptable in a range of video and film projects.
This also allows you to broaden your search. When you need an aerial shot of the eastern coast or a close-up in nature, you can use stock footage from any location as long as it looks similar to the setting of your shoot.
2. Are the frame rates and resolutions compatible?
Even when stock video matches the setting of your shot video, it’s important that the frame rates and resolutions are compatible across the board.
Frame rate reflects the speed of the passing images in video. If the stock video’s frame rate is lower than the shot video’s frame rate, the transition between the two will feel unnatural and off-kilter.
To create a cohesive final project, it’s necessary that the frame rates are the same or nearly the same. When your shot video is 24 FPS, a stock video that is 60 FPS won’t be compatible. In this case, you can lower the stock video’s frame rate to match the shot video.
Resolution, on the other hand, has more to do with the clarity and quality of the video’s appearance. The same rules apply for modifying resolution as for frame rate: it’s better to lower the resolution of one video than attempt to increase the resolution from, let’s say, 1080 to 4K.
3. Are the visuals and auditory elements synched?
Once you adjust the frame rate and resolution, the next challenge is to match the color grading in both your stock video and shot video.
With graded stock footage, this process can be more complex because the video has already been color graded.
You’ll need to color correct the footage with a software like DaVinci Resolve. Then you can transition into the color matching and color grading stages to fine-tune the appearance to match the shot video.
When blending stock video with shot video, it’s also important to make sure that the sound quality is consistent throughout the project’s timeline. Viewers will notice if the pitch changes abruptly and drastically from one clip to the next.
Outsourcing Video from Stock Libraries
To create a smooth and seamless viewing experience, videographers handle production and post-production with care. Ensuring that stock video and shot video match is every creator’s top priority.
When searching for the best stock video for a given project, creators can outsource footage from many different sources. A cost-effective way to get access to a wide variety of stock options is to use a stock video library.
With a founding mission to keep creators creating, Soundstripe provides an ever-growing library of stock video, music, and SFX that can take any creative project to the next level.

