Soundstripe Projects: 5 Tips for Better Video Asset Management
Jourdan Aldredge

Nov 1, 2022
These days the world of video editing is all about saving time. From new camera-to-cloud innovations to basic tips like working with audio stems, every new video editing trick seems to be about streamlining the post-production process.
And while there are plenty of tools, plugins, and resources to utilize, one of the best ways to make your editing workflow go faster is to practice proper video asset management.
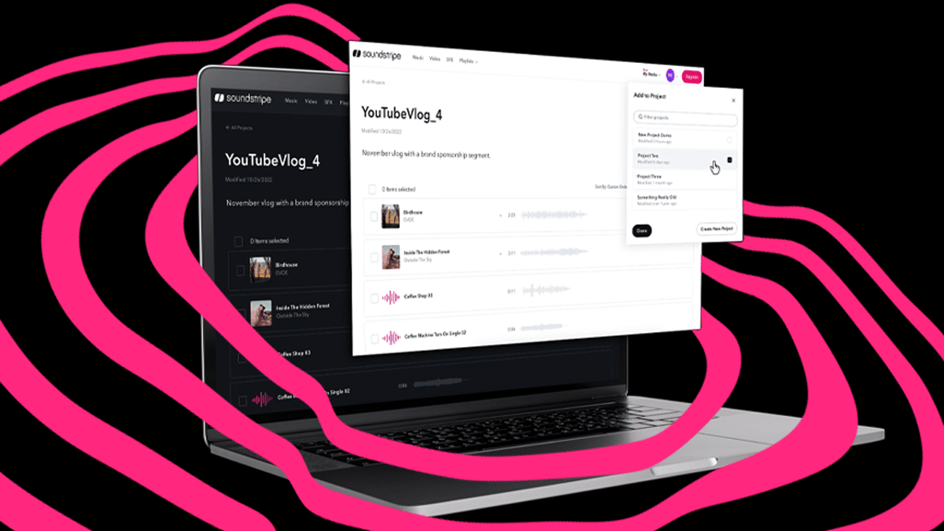
To help you in your never-ending quicker editing quest, we have some helpful tips and tricks to follow when you begin organizing your own projects — with a focus on getting the most out of our new Projects feature on the Soundstripe app.
Let’s dive in.
Our first tip for better video asset management is simply to start during pre-production. If you’re thinking about asset organization for the first time during the edit, you’re already way behind. Good video asset management is all about having a plan and sticking to it.
From the very first stages of beginning a project — whether that be in a meeting with a client or sitting down to pen your first draft of a screenplay — you should really be thinking about what video and audio assets you might need and how you might store and organize them.
For example, many filmmakers like to start by making mood boards where they collect images, music tracks, or film effects or overlays which they plan to use throughout production. They also make their purchase decisions for the best external hard drives or cloud storage options which they’ll eventually put all of their footage and backups into.
Another piece of advice to keep in mind for asset management is that it’s never a bad thing to take notes. On big film productions you have dedicated individuals tasked with footage management and script notes of course, but on smaller shoots these roles can often be left unfilled.
However, just because you don’t have a budget for a DIT on set, you can still make time to be sure to properly record and take detailed notes about what footage is being shot when and where it’s being stored.
Also keep in mind what audio is being recorded and where it is going to live. If you’re looking to try to sync video and audio later, it will help immensely later if you know when and where all of your footage was shot and recorded.

One of the best tips which we can recommend though might simply be to start building your audio playlists early. Whether it’s just for sonic exploration as you try to ideate and find your cinematic inspiration, or if you want to start laying out a music and sound effect base layer in your NLE timeline, exploring audio tracks early is super helpful.
Here at Soundstripe we actually have a cool mobile app which is free to download where you can browse music on the go so you can find the right tunes for your project from anywhere.
From there you can also actually start building your own playlists and project folders with our new Projects feature which allows you to actually store all manner of multimedia (music, SFX, and video) along with provide some robust controls and project settings for sharing and collaborating.
Pretty neat, huh?
Once you’re actually on set though the two most important words to remember are “back” and “up.” No one wants to be the doofus who accidentally wipes a card before it’s been properly uploaded and backed up either on location or into a cloud. And trust us, even today this still happens more than you think.
Along with just backing up your footage though it’s also important these days to make sure your footage is being properly organized at the same time. After all, if you completely forget where your footage is it might as well be gone.
All of the work you did in pre-production should come in handy here as you really should have a solid (and safe) system for uploading footage, backing it up in a safe place, and organizing it into your workflow so you can be ready to start editing as soon as production ends.
Looking towards the future, video editing could eventually become a completely streamlined part of the production process. With camera-to-cloud technology editors can work with footage seconds after it’s shot. However, for most of us, video editing will still be a separate phase.
Still, with the rise of popular and helpful collaborative video editing platforms like Frame.io and Vimeo Review, sharing edits with clients and the rest of your team has never been easier.
It also means that sharing assets and draft versions is also getting more streamlined and easier to access and share. Which means it’s even more important to make sure your assets and videos are well organized, clearly labeled, and easy to find.
At the end of the day, video asset management is simply about making sure your video files, video assets, audio files, and various digital assets are together and organized into one digital asset management system.
Video content doesn't usually fall into these different video asset management software or marketing and sales teams asset management systems, but as video content becomes more important video storage concerns for larger video video files and video data storage space needs is indeed becoming more of a thing.
It's up to you to make smart and safe choices early and often in your film and video production workflow.